Creating a simple notebook
Introduction
Taking notes is a good thing. And being able to do it in a view is even better! In this part we will create a simple notebook functionality in a view. The State context object will once again be used to persist data, but we will add some control over where the data is saved by specifying a file when getting/setting.
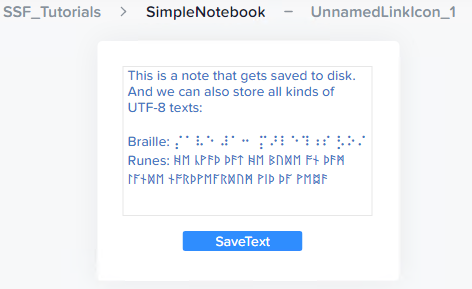
And the whole solution it of course UTF-8 safe so you can store texts in Braille (⡌⠁⠧⠑ ⠼⠁⠒ ⡍⠜⠇⠑⠹⠰⠎ ⡣⠕⠌) or Runes (ᚻᛖ ᚳᚹᚫᚦ ᚦᚫᛏ ᚻᛖ ᛒᚢᛞᛖ ᚩᚾ ᚦᚫᛗ ᛚᚪᚾᛞᛖ ᚾᚩᚱᚦᚹᛖᚪᚱᛞᚢᛗ ᚹᛁᚦ ᚦᚪ ᚹᛖᛥᚫ).
Note
The complete view can be downloaded from here, but you will still need to follow some of the setup steps for it to work.
Setup
- In SSF_Tutorials, create a new
User Areacalled SimpleNotebook. - Open Folder Views Tool and remove all the default
WidgetsandLink Icons. - Create a new
Link Iconand leave the default name as is (UnnamedLinkIcon_1).
In the File attribute, select Create a new view in this user area..., change the name to SimpleNotebook.Rwav and save the the changes in Folder Views Tool.
Open the newly created view for editing.
- Remove the default elements.
- Add a
Textelement with the name StoredText.- Set the attributes
Multilineto Yes andShow titleto No. - On the Maneuver tab, set
Maneuver styleto Editable. - Make the element bigger so some text can fit in it.
- Set the attributes
- Add a
Buttonwith the name SaveText and place it under theTextelement. - Save the file.
In your browser, navigate to the new User Area and make sure the elements display correctly.
Adding the server-side code
In the view root object, on the Javascript tab, open up the ServerSideJS editor and paste the following code:
// We register two server-side functions and return them
// (to the server-side context)
return {
    // All registered functions must be async and they all must
    // declare 'args' and 'callInfo' as params.

    getStoredText: async (args, callInfo) => {
        console.log('In getStoredText');

        // Get the value of 'textFromPage' from the notes.json in Shared:.
        return await callInfo.context.state.get(
            {
                key: 'textFromPage',
                file: 'Shared:/notes.json',
            }
        );
    },

    setText: async (args, callInfo) => {
        console.log('In setText');

        // Set/store the text under the key 'textFromPage'
        // in the shared notes file.
        //
        // 'content' is the named arg we passed from the
        // client-side code, so therefor it can be found in the args object.
        return await callInfo.context.state.set(
            {
                key: 'textFromPage',
                file: 'Shared:/notes.json',
                data: args.content,
            }
        );
    }
}
Attention
You can use both slashes (/) and backslashes (\) as directory separator in paths.
If you use backslashes, you must add an extra (as escape character) or you will get an error: Shared:\\notes.json.
Adding the client-side code
Open the OnOpen editor for the root object and paste the following code:
// The dot (.) before the server-side function name implicitly adds
// the current path (where the view resides).
//
// 'getStoredText' doesn't take any arguments but we're still required
// to pass an empty object ({})
this.view.call('.getStoredText', {}).then((result) => {

    // Get the result (string/text) or default to empty string
    // if the result was null.
    const text = result || '';

    // Set the content text in the Text element (`StoredText`)
    console.log("setting content in Text element to:", text);
    this.view.StoredText.value(text);
});
Next, open the OnManeuver editor for the Button and paste the following code:
// Get the content/text from the Text element (`StoredText`)
const content = this.view.StoredText.value();

// Save the text to the state file
this.view.call('.setText', { content }).then((result) => {
    console.log("Saved text:", content);
});
The result
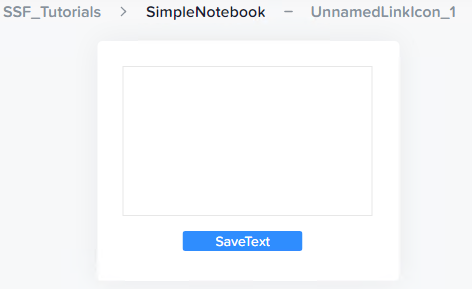
Open your browser and navigate to the area. The first time your view loads it should look like this:
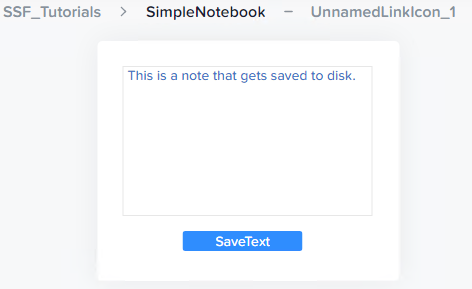
Enter some text, click SaveText and reload the page. The text you saved before should be displayed in the Text element:
You can also store UTF-8 texts:
Quick review
In this part we registered two ServerSideFunctions to get and set data from a specific file in the project. We also proved that the State context object can handle non-ASCII characters quite well.
Ideas and improvements
This notebook could be developed into somekind of rudimentary log system by including the name of the user and a timestamp for when an entry was created.
Add a Text element to handle the input text and rewrite the OnManeuver code for the button to grab the text from this new element together with the current username, before invoking the ServerSideFunction. Rewrite the SSF code to add a timestamp to the new entry before adding (not overwriting) it to the file.
Change Maneuver style to None for the StoredText element so users only can add new entries using the new Text element.
Hint
You can get the current username through this.session.user.name.
You can add content in a file by first reading the whole file into memory, appending the data (in memory) and then writing it back to disk.