Add the service to Arrigo Local
The custom service needs to be added to the Arrigo Local project to be able to run. To be able to communicate with the other microservices in Arrigo Local, the service needs to be prepared and fed with command line parameters. The service also needs its own service token, a long lived accessToken used for authentication to the WAMP router running in the attached project.
Add your service to the Attach Arrigo template files
Arrigo Local needs to know some things about your custom service to be able to run it for you. Arrigo Local uses PM2 to run all services. The configuration file for PM2 is created when the Attach Arrigo command is executed. The configuration file is built based on snippets of service definitions. Add a new project specific service definition to run a service as a part of Arrigo Local.
- Open File Explorer and navigate to your project.
- In the
Arrigo/pm2/folder, create a new folder called snippets. - In the snippets folder, create a file called
custom-service.snippet.config.js. - Open the file in a text editor and paste the following service definition
During development of the custom service, it can be useful to enable the features of automatic reload of the service. To add this functionality add this snippet. On the Production server, the production version without autoreload feature should be used.
    {
      exp_backoff_restart_delay: 1337,
      name: "custom-service",
      cwd:"C:/code/arrigo-custom-service-template",
      script: "./index.js",
      watch:true,
      watch_delay: 1000,
      args: "-k %KEY_custom-service%",
      env: {
        ...environment,
      },
    },
    {
      exp_backoff_restart_delay: 1337,
      name: "custom-service",
      cwd:"C:/code/arrigo-custom-service-template",
      script: "./index.js",
      args: "-k %KEY_custom-service%",
      env: {
        ...environment,
      },
    },
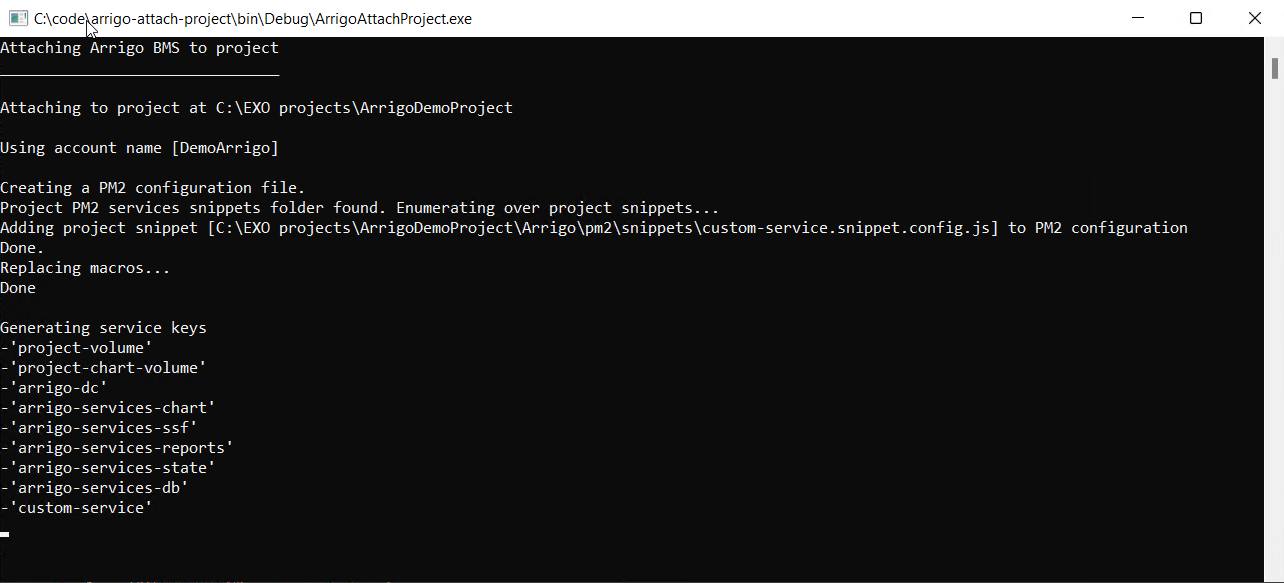
Attach the project
Simply open EXOdesigner, select the Arrigo BMS folder. Go to Tools->Attach Arrigo... menu option and see your custom service be included into the Arrigo Local project.
Nice! Now, you have: - A prepared project with a UserArea - A custom-service running in the project - An open Visual Studio Code with the service source code
Let's go through the next section and explain the Service implementation!