Hello world example
In this step, you will create a view with both server side code and frontend browser code. The purpose is to show that the browser itself connects to the very same environment and microservice as the backend services does. This is very powerful and a nice way of integrating functionality.
Note
A complete example of this view is available here.
Setup
- Open EXOdesigner, select the CustomService folder and open the FolderViewsTool for the folder.
- Remove all widgets and link icons.
- Add a new link icon. Name it "Hello" and click the File attribute. Select Create new view in this area..., name the file hello.rwav and click ok.
- Select the dropdown in the File attribute and select Design view....
Ok, the View Designer is opened with your new hello.rwav file.
Prepare the result view
Simply add a Text element, name it CallResult. Make it at least 400 pixels wide.
The first service call
- Select the View element, and view the
JavaScripttab. Open the JSEditor for theOnOpenattribute. -
Paste the following code into the attributes.
View - ServerSideJS -
Save the file. Save the Folder Views Tool.
- Open a browser.
- Login to Arrigo and navigate to the folder CustomService.
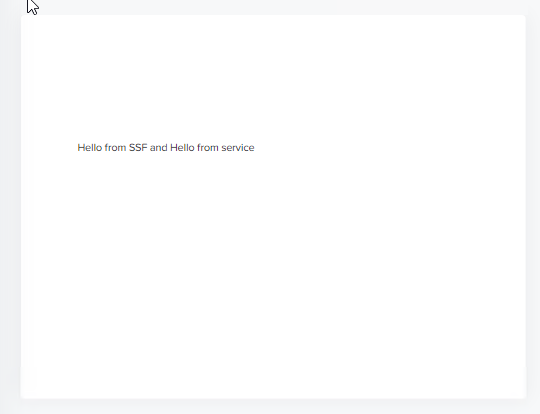
- After a (very short) time, the text
Hello from SSF and Hello from serviceis displayed in theTextelement.
Let's go through this in detail.
When the view is about to be displayed,the ServerSideJS is parsed and prepared on the server. The OnOpen code is executed in the browser. The browser connects to the WAMP router on login and can communicate with the back end service network. In the section about SSF you can read all about SSF (ServerSideFunctions).
When the code in OnOpen is executed, a call to the SSF method .hello is made and its result should be printed to the console.
Now to the fun part! When the .hello function is executed, there is another call to our custom-service!
The method in our custom-service (remember session.register in previous chapter?) is invoked and exeuted. The result is passed back to our SSF function .hello and concatenated with some more string content. The result from the .hello function is returned back to the browser view and logged in the console.
Conclusion
In this example we have:
- Downloaded and built a custom-service written in Node.JS.
- Added the service to Arrigo Local with a service definition snippet file.
- Called the service function
hellofrom the view SSF function.helloand transfered its result to the frontend. You have now fully integrated a custom-service to your view. Any data can be passed as result. Binary data, Text, Number and whole object structures! Happy hacking!
If you need some more advanced examples, continue reading in next chapters.